Garlic Butter Chicken Thighs With Parmesan – Crispy, Juicy, and Comforting
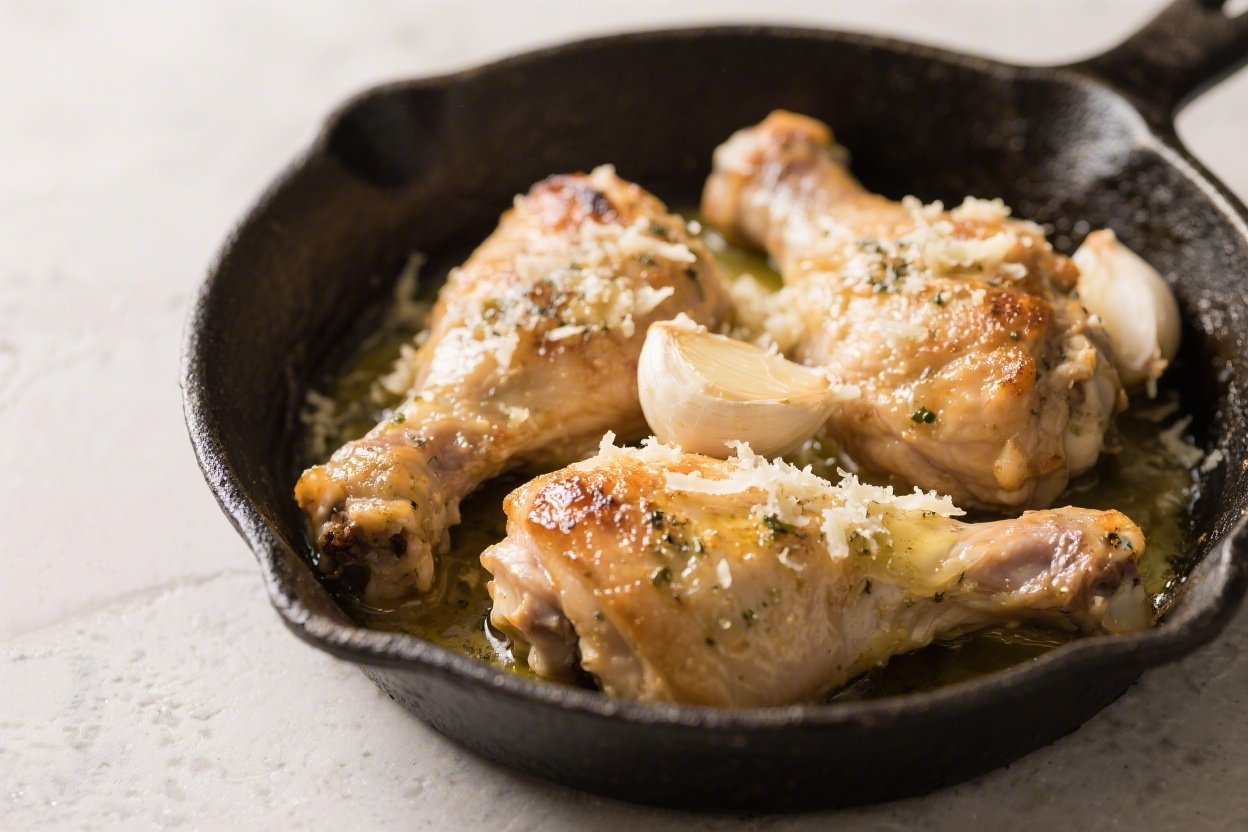
This is the kind of dinner that makes everyone wander into the kitchen asking what smells so good. Golden, crispy chicken thighs are seared in garlicky butter, then finished with a shower of Parmesan. The result is savory, rich, and deeply satisfying without being heavy.
It’s a weeknight hero that also feels special enough for company. With simple ingredients and a few smart steps, you’ll have a skillet full of flavor in under an hour.
Ingredients
Method
- Pat the chicken dry. Use paper towels to thoroughly dry the skin. Dry skin equals crisp skin. Set the thighs on a plate and let them sit at room temperature for 15 minutes while you prep.
- Season generously. In a small bowl, mix salt, pepper, paprika, and garlic powder. Sprinkle all over the chicken, rubbing some under the skin where you can. Seasoning under the skin boosts flavor.
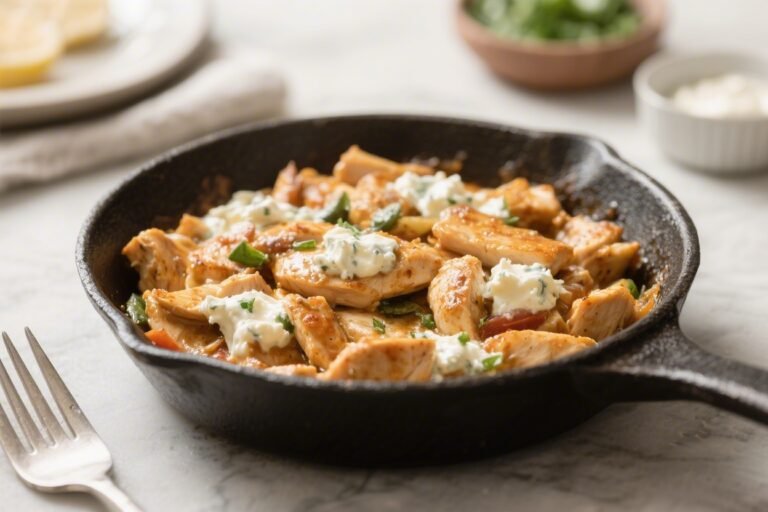
- Preheat your pan. Set a large oven-safe skillet (cast iron is ideal) over medium-high heat. Add olive oil and let it shimmer. A hot pan is key to a good sear.
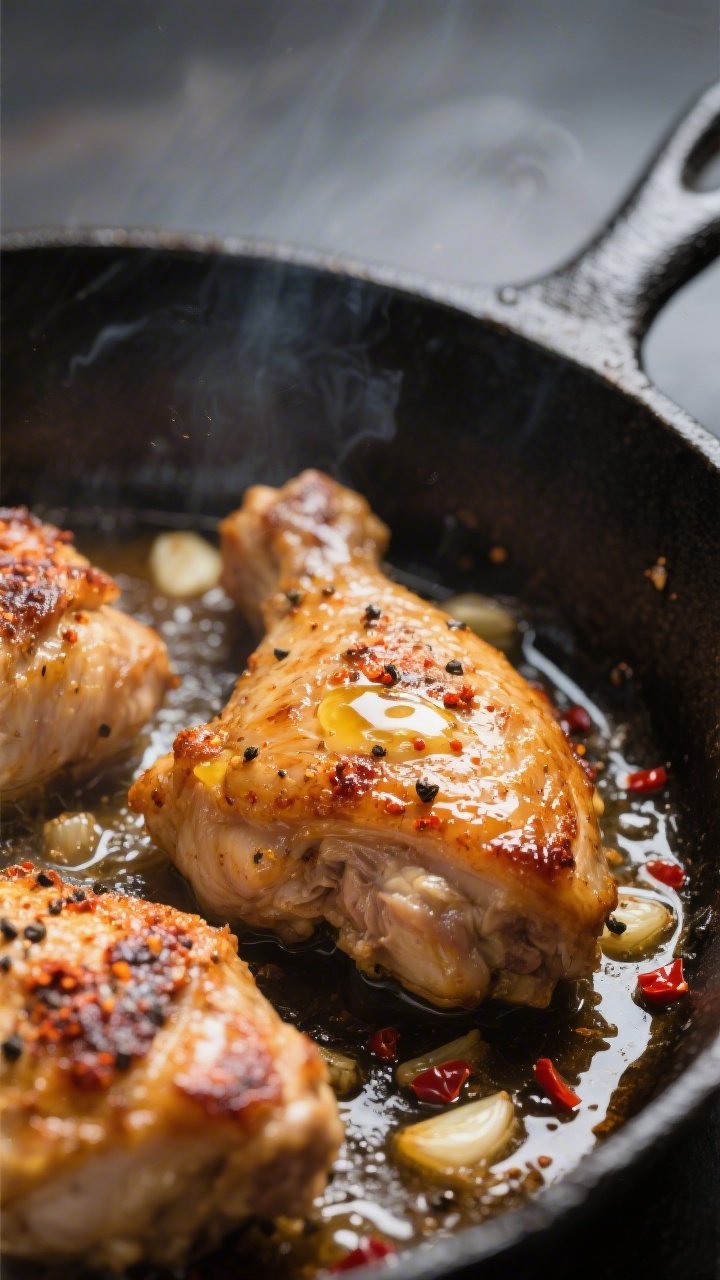
- Sear the chicken, skin-side down. Place thighs in the pan without crowding. Press lightly with a spatula to ensure full contact. Cook 6–8 minutes until the skin is deeply golden and crisp. Don’t move them too early.
- Flip and add butter. Turn the chicken skin-side up. Add butter to the pan. When it melts, spoon it over the thighs. Reduce heat to medium.
- Add garlic and spice. Stir the minced garlic and red pepper flakes into the butter and pan juices. Cook 30–45 seconds until fragrant, keeping it moving to avoid burning.
- Deglaze. Pour in chicken broth and lemon juice. Scrape up the browned bits from the bottom of the pan—those are pure flavor. Simmer 2–3 minutes to slightly reduce.
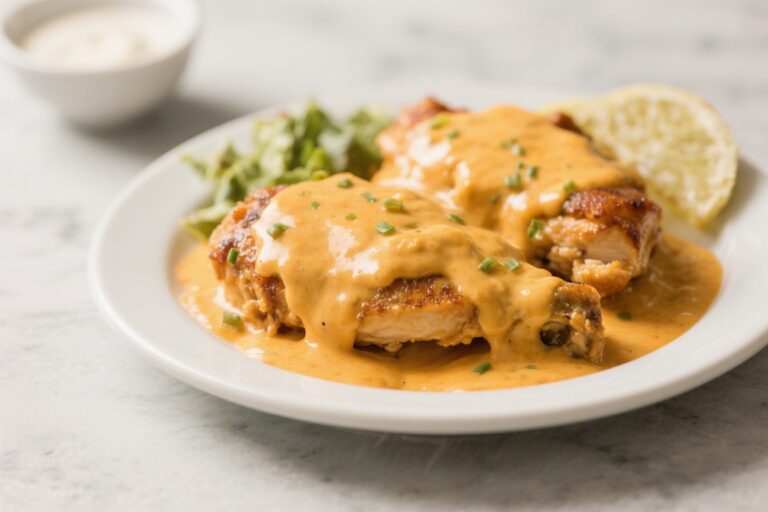
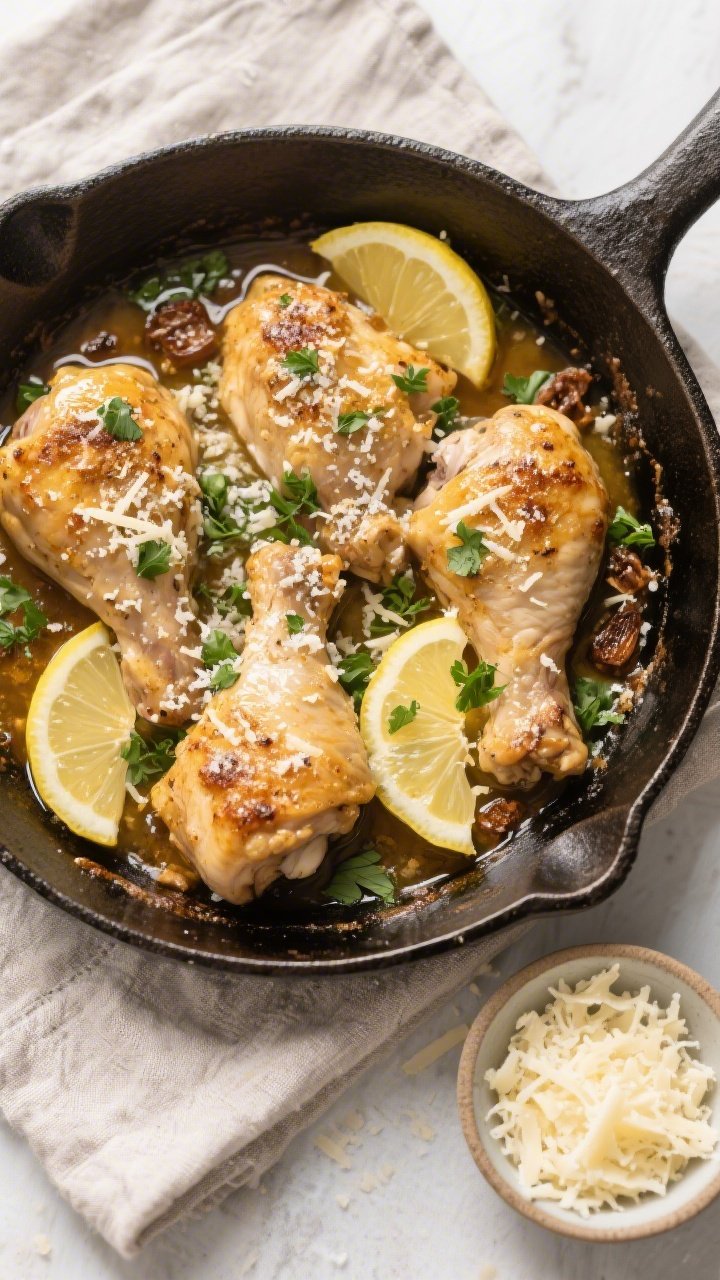
- Finish with Parmesan. Sprinkle Parmesan into the skillet sauce and over the chicken. Tilt the pan and baste so the cheese melts into a glossy, garlicky coating.
- Optional oven finish. For extra-crispy skin and fully cooked thighs, transfer the skillet to a 400°F (200°C) oven for 8–12 minutes, until the thickest part reaches 165°F (74°C). If the skin needs more color, broil 1–2 minutes, watching closely.
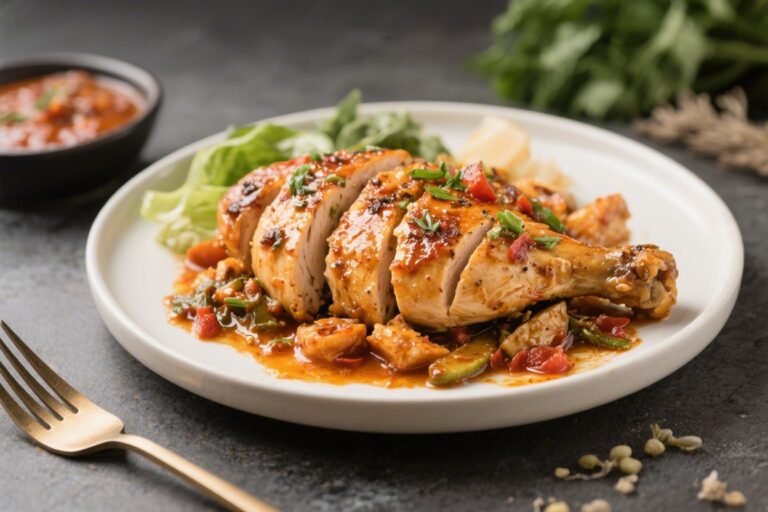
- Rest and garnish. Let the chicken rest 5 minutes. Spoon sauce over the top, then shower with more Parmesan and chopped parsley. Serve with lemon wedges.

What Makes This Special
There’s nothing fancy here, but the details make all the difference. Bone-in, skin-on chicken thighs deliver maximum juiciness and crisp skin that’s hard to beat.
A quick sear locks in flavor, and butter carries the garlic so it infuses every bite. Parmesan adds a nutty, salty finish that melts into the pan juices, turning them into a spoon-worthy sauce. It’s simple, affordable, and tastes like you put in way more effort than you did.
Shopping List
- 6 bone-in, skin-on chicken thighs (about 2 to 2.5 pounds)
- 2 teaspoons kosher salt
- 1 teaspoon freshly ground black pepper
- 1 teaspoon paprika (sweet or smoked)
- 1 teaspoon garlic powder
- 1 tablespoon olive oil
- 3 tablespoons unsalted butter
- 4–5 garlic cloves, minced (about 2 tablespoons)
- 1/2 teaspoon red pepper flakes (optional)
- 1/2 cup low-sodium chicken broth
- 1 tablespoon lemon juice (plus extra wedges for serving)
- 1/3 cup freshly grated Parmesan cheese, plus more for garnish
- 2 tablespoons chopped fresh parsley (or basil)
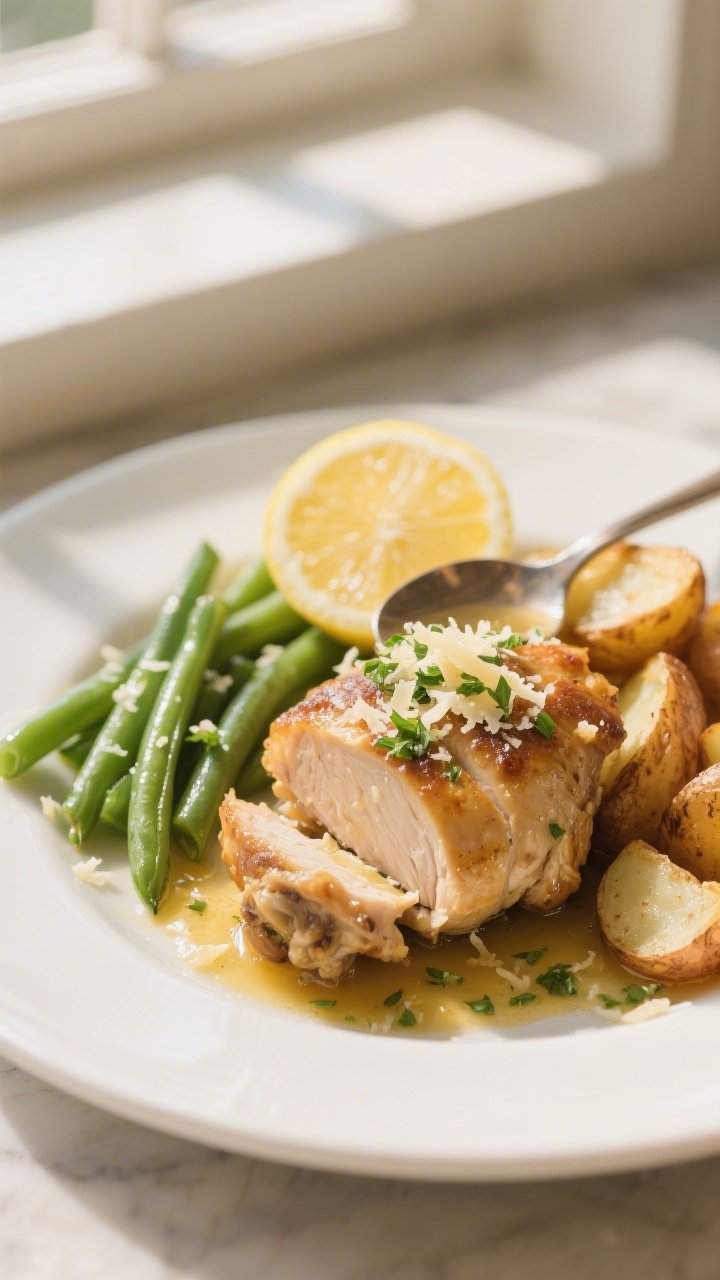
- Optional sides: steamed green beans, roasted potatoes, rice, or crusty bread
How to Make It
- Pat the chicken dry. Use paper towels to thoroughly dry the skin.
Dry skin equals crisp skin. Set the thighs on a plate and let them sit at room temperature for 15 minutes while you prep.
- Season generously. In a small bowl, mix salt, pepper, paprika, and garlic powder. Sprinkle all over the chicken, rubbing some under the skin where you can.
Seasoning under the skin boosts flavor.
- Preheat your pan. Set a large oven-safe skillet (cast iron is ideal) over medium-high heat. Add olive oil and let it shimmer. A hot pan is key to a good sear.
- Sear the chicken, skin-side down. Place thighs in the pan without crowding.
Press lightly with a spatula to ensure full contact. Cook 6–8 minutes until the skin is deeply golden and crisp. Don’t move them too early.
- Flip and add butter. Turn the chicken skin-side up.
Add butter to the pan. When it melts, spoon it over the thighs. Reduce heat to medium.
- Add garlic and spice. Stir the minced garlic and red pepper flakes into the butter and pan juices.
Cook 30–45 seconds until fragrant, keeping it moving to avoid burning.
- Deglaze. Pour in chicken broth and lemon juice. Scrape up the browned bits from the bottom of the pan—those are pure flavor. Simmer 2–3 minutes to slightly reduce.
- Finish with Parmesan. Sprinkle Parmesan into the skillet sauce and over the chicken.
Tilt the pan and baste so the cheese melts into a glossy, garlicky coating.
- Optional oven finish. For extra-crispy skin and fully cooked thighs, transfer the skillet to a 400°F (200°C) oven for 8–12 minutes, until the thickest part reaches 165°F (74°C). If the skin needs more color, broil 1–2 minutes, watching closely.
- Rest and garnish. Let the chicken rest 5 minutes. Spoon sauce over the top, then shower with more Parmesan and chopped parsley.
Serve with lemon wedges.
Storage Instructions
- Refrigerate: Cool completely, then store chicken and sauce in an airtight container for up to 4 days.
- Freeze: Remove skin if you plan to freeze (it softens). Freeze for up to 3 months. Thaw in the fridge overnight.
- Reheat: Warm in a 325°F (165°C) oven, covered, for 12–15 minutes, then uncover for 3–5 minutes to re-crisp the skin.
Or reheat gently on the stovetop with a splash of broth.
Health Benefits
Chicken thighs offer high-quality protein for muscle repair and satiety. They also contain iron, zinc, and B vitamins that support energy and immune function. Garlic brings sulfur compounds with potential heart-health benefits, and using lemon brightens flavor so you can rely less on extra salt.
Parmesan adds calcium and big flavor in small amounts, helping you keep portions reasonable while still feeling satisfied.
Common Mistakes to Avoid
- Starting with wet chicken. Moisture on the skin prevents browning. Pat dry well.
- Overcrowding the pan. Too many pieces steam instead of sear. Work in batches if needed.
- Burning the garlic. Add garlic after the flip and keep it moving.
If it turns dark, it will taste bitter.
- Skipping the thermometer. Thighs are forgiving, but aim for 165°F to be safe and juicy.
- Using pre-grated Parmesan. Freshly grated melts better and tastes cleaner.
Variations You Can Try
- Creamy version: Stir in 1/4 cup heavy cream after deglazing for a silky sauce.
- Herb-forward: Add 1 teaspoon each of dried Italian herbs or toss in fresh thyme and rosemary sprigs.
- Lemon-pepper twist: Increase lemon juice and zest half a lemon into the sauce; add extra black pepper.
- Spicy kick: Use smoked paprika and bump up red pepper flakes, or add a dash of hot sauce.
- Boneless swap: Use boneless, skinless thighs; reduce cook time to prevent drying and finish on the stovetop.
- Veg boost: Stir in baby spinach or blistered cherry tomatoes right at the end.
FAQ
Can I use chicken breasts instead of thighs?
Yes, but adjust the method. Use boneless, skinless breasts, sear 3–4 minutes per side, then finish gently so they reach 165°F without drying. Consider pounding to even thickness for better results.
Do I really need cast iron?
No, but a heavy, oven-safe skillet holds heat well and gives the best sear.
If you don’t have one, use a stainless-steel pan. Avoid nonstick for high-heat searing.
What can I substitute for Parmesan?
Try Pecorino Romano for a sharper, saltier punch, or Grana Padano for a milder profile. If you need a non-dairy option, skip the cheese and finish with toasted breadcrumbs and extra herbs for texture.
How do I know when the skin is crispy enough?
Look for deep golden color and the sound of a gentle sizzle.
The chicken should release easily from the pan when it’s ready to flip. If it sticks, give it another minute.
Can I make this ahead?
You can season and sear the chicken a few hours ahead. When ready to serve, rewarm in the sauce in the oven until hot and crisp again.
Add fresh Parmesan and parsley right before serving.
Is it very garlicky?
It’s pleasantly garlicky, not overpowering. If you prefer a milder flavor, reduce to 2–3 cloves or let the garlic cook a touch longer in the butter to mellow it.
What sides go best with it?
Roasted potatoes, buttered noodles, rice, or crusty bread are great for catching the sauce. For greens, try sautéed spinach, green beans, or a simple arugula salad with lemon.
Wrapping Up
Garlic Butter Chicken Thighs with Parmesan is the kind of meal that feels both cozy and a little luxurious.
With crisp skin, juicy meat, and a pan sauce you’ll want to spoon over everything, it’s a guaranteed crowd-pleaser. Keep the ingredients on hand, and you’ve always got a winning dinner in your back pocket. Simple steps, big flavor, happy plates—what more do you need?
Printable Recipe Card
Want just the essential recipe details without scrolling through the article? Get our printable recipe card with just the ingredients and instructions.