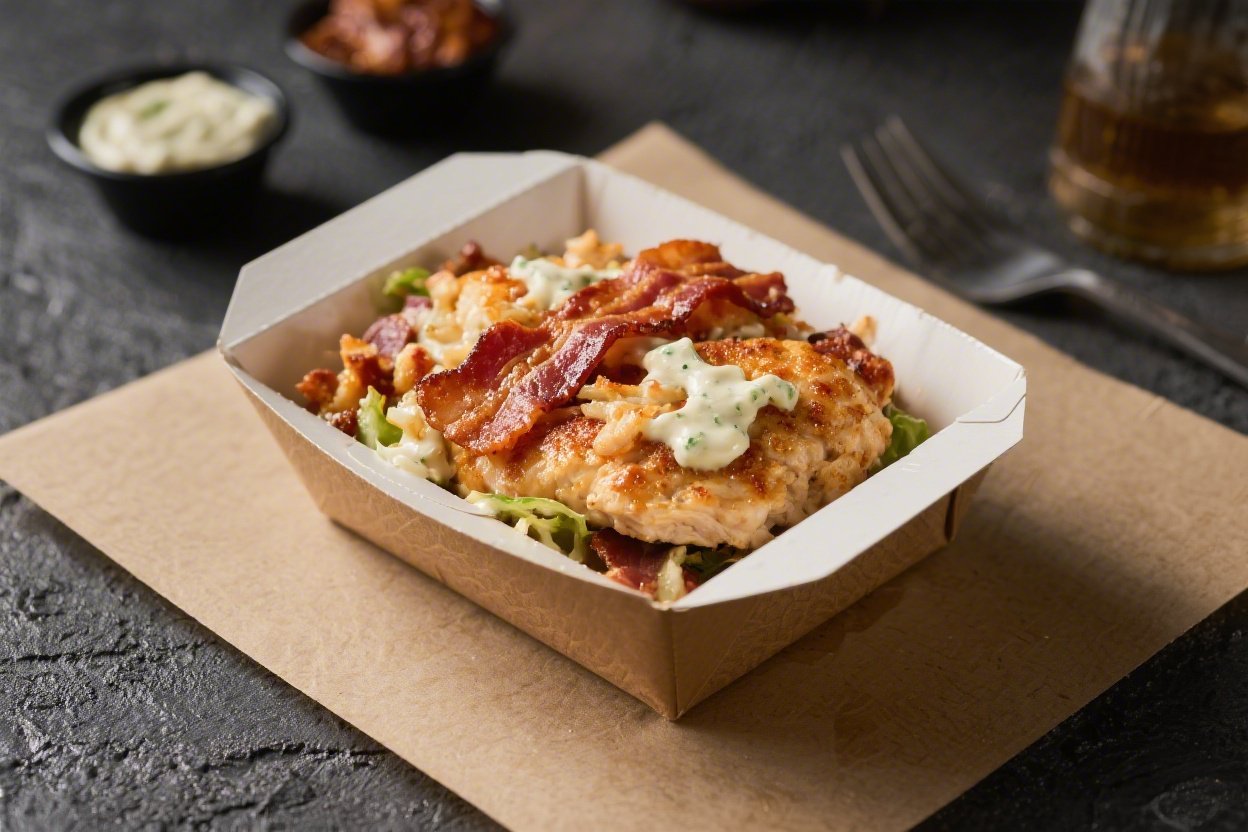
Bacon Ranch Chicken Power Boxes – A Simple, Satisfying Meal Prep
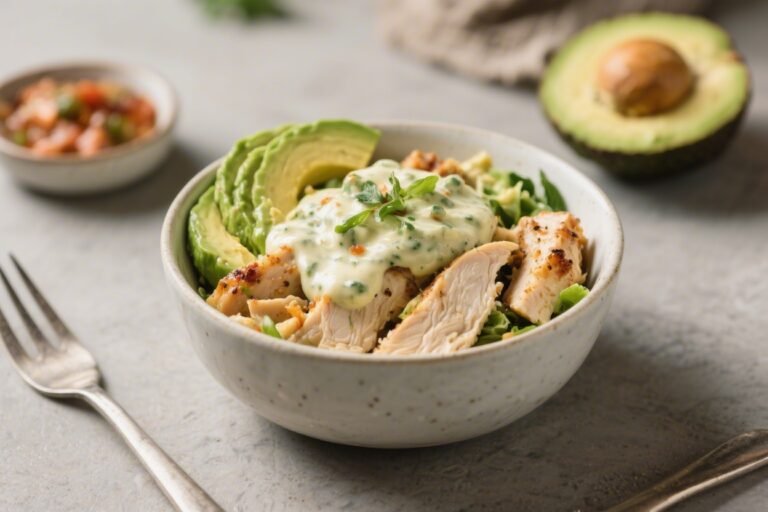
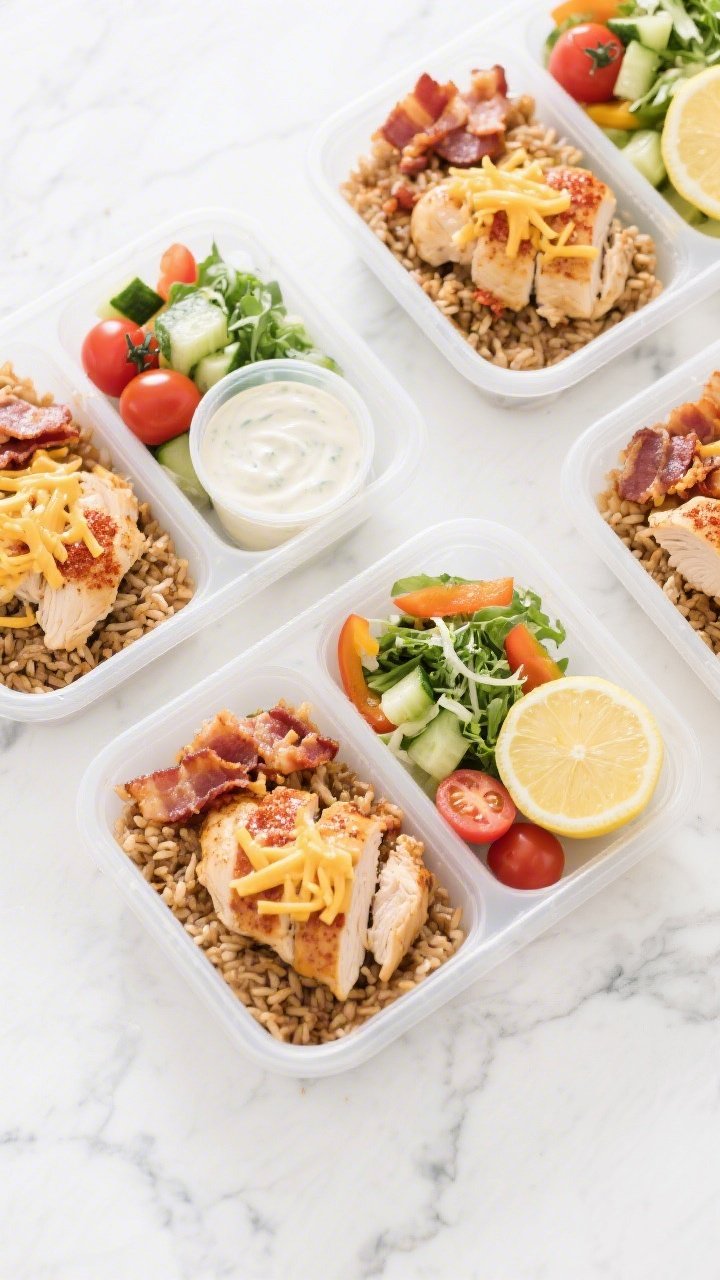
These Bacon Ranch Chicken Power Boxes are the kind of meal prep you’ll actually look forward to eating. They’re hearty, flavorful, and easy to customize with what you have. Crispy bacon, juicy chicken, cool ranch, and fresh veggies all come together in a satisfying, balanced bowl.
Make a batch on Sunday, and you’ll have lunch ready for days. It’s comfort food that still feels light and energizing.
Ingredients
Method
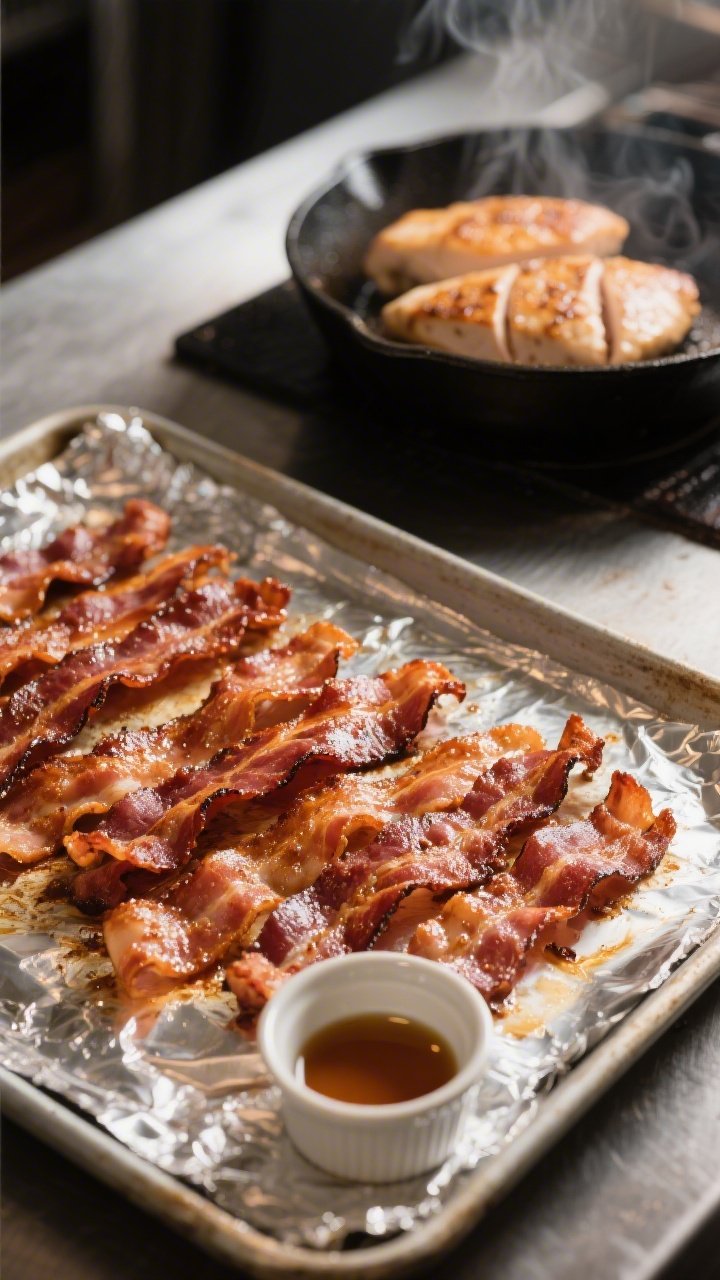
- Cook the bacon. Line a sheet pan with foil and bake bacon at 400°F (205°C) for 12–15 minutes until crisp. Transfer to a paper towel–lined plate and crumble once cooled. Reserve a tablespoon of bacon fat for extra flavor if you like.
- Prep your base. Cook brown rice or quinoa according to package directions. Fluff and let it cool slightly so it doesn’t steam up your containers. For a low-carb option, sauté cauliflower rice in a little olive oil with salt and pepper until tender.
- Season the chicken. Pat chicken dry. Mix salt, pepper, garlic powder, onion powder, and smoked paprika. Rub evenly on both sides. This gives you that ranch-friendly, savory backbone without overpowering the dressing.
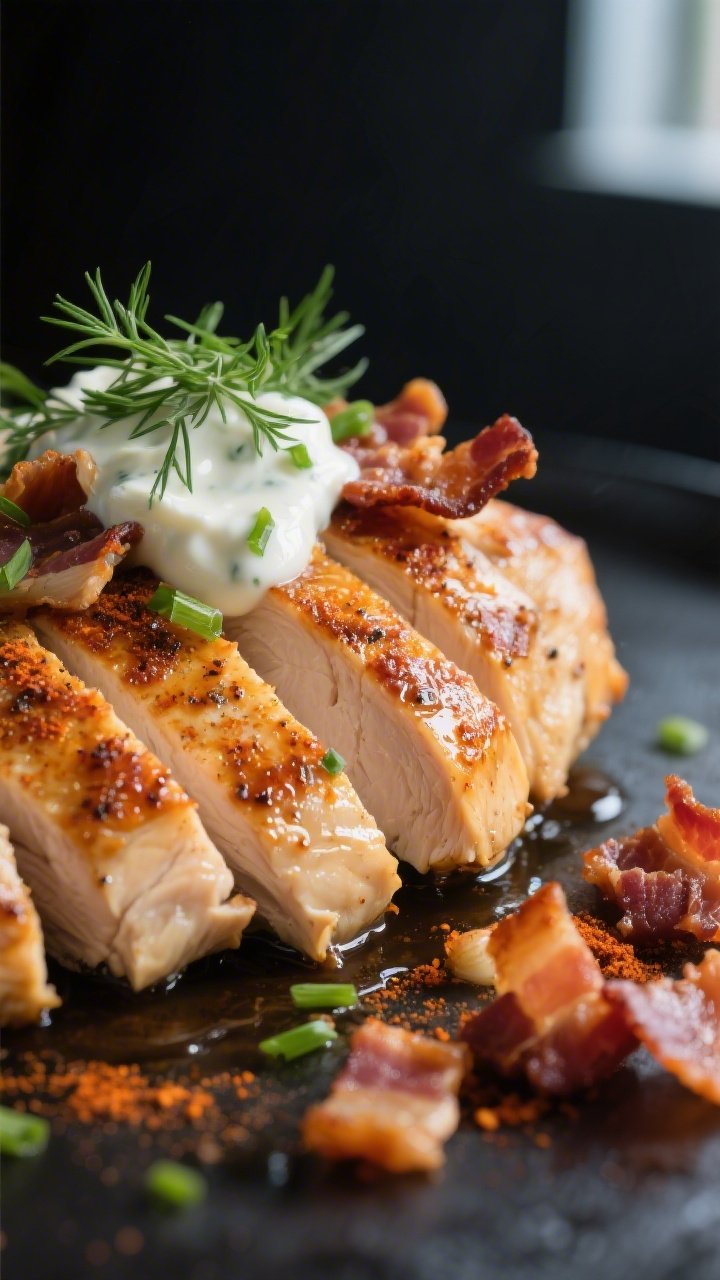
- Cook the chicken. Heat 1 tablespoon olive oil (or reserved bacon fat) in a large skillet over medium-high. Sear chicken 4–6 minutes per side, until browned and cooked through (165°F/74°C internal). Rest for 5 minutes, then slice or dice into bite-size pieces. Alternatively, roast at 425°F (220°C) for 18–22 minutes.
- Make the ranch. Whisk Greek yogurt, mayo, milk, lemon juice, garlic, dill, chives or parsley, salt, and pepper. Taste and adjust with more herbs, lemon, or a splash of milk to thin. The dressing should be pourable but not runny.
- Chop the veggies. Halve cherry tomatoes, dice cucumber and bell peppers, thinly slice red onion, and shred lettuce. If using avocado, slice right before eating or toss with lemon juice to slow browning.
- Assemble the boxes. Divide your base among containers. Add chicken, crumbled bacon, tomatoes, cucumber, bell peppers, and greens. Sprinkle with shredded cheese if using. Keep ranch in a small lidded cup, or drizzle lightly and leave extra on the side.
- Finish and label. Add lemon wedges for brightness. Label containers with the date. If you plan to reheat, keep greens and avocado in a separate container so they stay fresh.
Why This Recipe Works
The star of this recipe is the mix of textures and flavors—savory bacon, tender chicken, crunchy veggies, and creamy ranch. Using a quick homemade ranch keeps the flavor fresh and bright.
Roasting or pan-searing the chicken with a simple seasoning ensures it stays juicy. Building the boxes with a base like brown rice or quinoa adds staying power, while add-ins like cucumbers and cherry tomatoes keep things crisp. It’s easy to assemble, easy to scale, and easy to eat cold or warm.
Shopping List
- Chicken: 1.5–2 pounds boneless, skinless chicken breasts or thighs
- Bacon: 6–8 slices, thick-cut if possible
- Base: 3 cups cooked brown rice, quinoa, or cauliflower rice
- Veggies: 1 pint cherry tomatoes, 1 large cucumber, 1–2 bell peppers, 2 cups shredded lettuce or chopped greens
- Extras: 1 avocado (optional), 1/2 small red onion, 1/4 cup shredded cheddar or Monterey Jack
- Seasonings for chicken: 1 teaspoon kosher salt, 1/2 teaspoon black pepper, 1 teaspoon garlic powder, 1 teaspoon onion powder, 1/2 teaspoon smoked paprika
- Homemade ranch (or store-bought): 1/2 cup plain Greek yogurt, 1/4 cup mayonnaise, 2 tablespoons milk, 1 teaspoon lemon juice or white vinegar, 1 clove garlic (grated), 1 tablespoon fresh dill (or 1 teaspoon dried), 1 tablespoon chopped chives or parsley, 1/4 teaspoon salt, 1/4 teaspoon black pepper
- Olive oil for cooking
- Lemon wedges (optional, for serving)
- Meal prep containers (4–5, depending on portion size)
Step-by-Step Instructions
- Cook the bacon. Line a sheet pan with foil and bake bacon at 400°F (205°C) for 12–15 minutes until crisp.
Transfer to a paper towel–lined plate and crumble once cooled. Reserve a tablespoon of bacon fat for extra flavor if you like.
- Prep your base. Cook brown rice or quinoa according to package directions. Fluff and let it cool slightly so it doesn’t steam up your containers.
For a low-carb option, sauté cauliflower rice in a little olive oil with salt and pepper until tender.
- Season the chicken. Pat chicken dry. Mix salt, pepper, garlic powder, onion powder, and smoked paprika. Rub evenly on both sides.
This gives you that ranch-friendly, savory backbone without overpowering the dressing.
- Cook the chicken. Heat 1 tablespoon olive oil (or reserved bacon fat) in a large skillet over medium-high. Sear chicken 4–6 minutes per side, until browned and cooked through (165°F/74°C internal). Rest for 5 minutes, then slice or dice into bite-size pieces.
Alternatively, roast at 425°F (220°C) for 18–22 minutes.
- Make the ranch. Whisk Greek yogurt, mayo, milk, lemon juice, garlic, dill, chives or parsley, salt, and pepper. Taste and adjust with more herbs, lemon, or a splash of milk to thin. The dressing should be pourable but not runny.
- Chop the veggies. Halve cherry tomatoes, dice cucumber and bell peppers, thinly slice red onion, and shred lettuce.
If using avocado, slice right before eating or toss with lemon juice to slow browning.
- Assemble the boxes. Divide your base among containers. Add chicken, crumbled bacon, tomatoes, cucumber, bell peppers, and greens. Sprinkle with shredded cheese if using.
Keep ranch in a small lidded cup, or drizzle lightly and leave extra on the side.
- Finish and label. Add lemon wedges for brightness. Label containers with the date. If you plan to reheat, keep greens and avocado in a separate container so they stay fresh.
Storage Instructions
Refrigerator: Store assembled boxes (without avocado) up to 4 days.
Keep ranch in a separate container for the best texture. If adding avocado, slice it fresh or store it with lemon juice and plastic pressed directly on the surface.
Freezer: Freeze the chicken, cooked base, and bacon as separate components for up to 2 months. Do not freeze the fresh veggies, greens, or ranch.
Loved This Recipe?
If you're looking for more simple, healthy keto dinners, grab my FREE 7-Day Easy Keto Dinner Reset. You'll get 7 easy keto dinner recipes, simple grocery lists, and a done-for-you plan that takes the stress out of mealtime.
Thaw overnight in the fridge, then assemble with fresh produce.
Reheating: If you want a warm bowl, reheat the base and chicken for 60–90 seconds in the microwave. Add cold crunchy toppings and ranch after heating.
Why This is Good for You
These boxes hit a smart balance: lean protein from chicken, complex carbs from rice or quinoa, and fiber and micronutrients from fresh veggies. Using a Greek yogurt–based ranch cuts down on saturated fat while still giving you the creamy flavor you expect.
Bacon adds big taste, so a modest amount goes a long way. This setup helps keep you full, supports stable energy, and makes it easier to stick to a plan during a busy week.
Common Mistakes to Avoid
- Overcooking the chicken: Dry chicken makes the whole bowl feel flat. Use a thermometer and pull at 165°F.
- Soggy bases: Don’t pack hot rice into containers.
Let it cool slightly to avoid condensation and mushy texture.
- Dressing overload: Ranch should complement, not drown. Start with a drizzle; add more if needed.
- Mixing hot and delicate: Keep greens separate if you plan to reheat. Add them after warming to keep them crisp.
- Skipping seasoning: Salt and spices on the chicken matter.
They bring depth so you don’t rely only on ranch for flavor.
Alternatives
- Protein swaps: Use turkey breast, rotisserie chicken, grilled shrimp, or baked tofu. For tofu, press, cube, toss with ranch seasoning and cornstarch, and bake until crisp.
- Base options: Farro, barley, couscous, or mixed greens work well. Cauliflower rice keeps it low-carb.
- Dairy-free ranch: Use a vegan mayo and unsweetened almond or oat milk.
Add extra herbs and a pinch of nutritional yeast for body.
- No bacon: Try turkey bacon or crispy chickpeas for crunch. Season chickpeas with smoked paprika for a bacon-like vibe.
- Add-ins: Corn, pickled jalapeños, roasted sweet potatoes, or sliced radishes. Fresh herbs like parsley or cilantro brighten everything.
- Spicy twist: Add hot sauce to the ranch or sprinkle cayenne on the chicken.
FAQ
Can I use store-bought ranch?
Yes.
Choose a brand you like and thin it with a splash of milk or lemon juice if it’s very thick. The homemade version is simple and fresh, but a good bottled ranch works in a pinch.
How do I keep the veggies crisp for days?
Dry everything well after washing. Keep juicy items like tomatoes on one side of the container and pack greens separately if you plan to reheat the base.
Storing ranch on the side also helps prevent wilting.
What if I only have frozen chicken?
Thaw it safely in the fridge overnight or use the cold water method (sealed bag in cold water, changing water every 30 minutes). Cook as directed once fully thawed. Avoid cooking chicken from frozen in a skillet for this recipe, as it can cook unevenly.
Can I make this low-sodium?
Use low-sodium bacon or reduce bacon and lean on herbs, garlic, and lemon for flavor.
Salt the chicken lightly and taste the ranch before adding more salt. Choose a low-sodium base like quinoa.
Is this meal good for kids?
Usually yes. Keep onions mild or omit them, offer ranch on the side, and chop components smaller.
Kids often enjoy the familiar flavors of chicken, bacon, and a creamy dip.
How many servings does this make?
It typically makes 4 hearty servings. If you prefer smaller portions, divide into 5 containers and add a piece of fruit or a yogurt on the side.
Can I grill the chicken?
Absolutely. Grill over medium-high heat for 4–6 minutes per side, depending on thickness.
The slight char pairs great with ranch and bacon.
What’s the best way to keep avocado from browning?
Toss slices with lemon juice and store tightly covered with plastic wrap pressed against the surface. Add avocado the day you plan to eat for the best color.
In Conclusion
Bacon Ranch Chicken Power Boxes are a reliable, tasty way to set yourself up for the week. They’re easy to prep, easy to customize, and packed with satisfying textures.
With a few smart steps—juicy chicken, crisp bacon, fresh veggies, and a lighter ranch—you get a meal that feels both comforting and fresh. Make a batch once, and you’ll have a new go-to for busy days and hungry moments.
Printable Recipe Card
Want just the essential recipe details without scrolling through the article? Get our printable recipe card with just the ingredients and instructions.