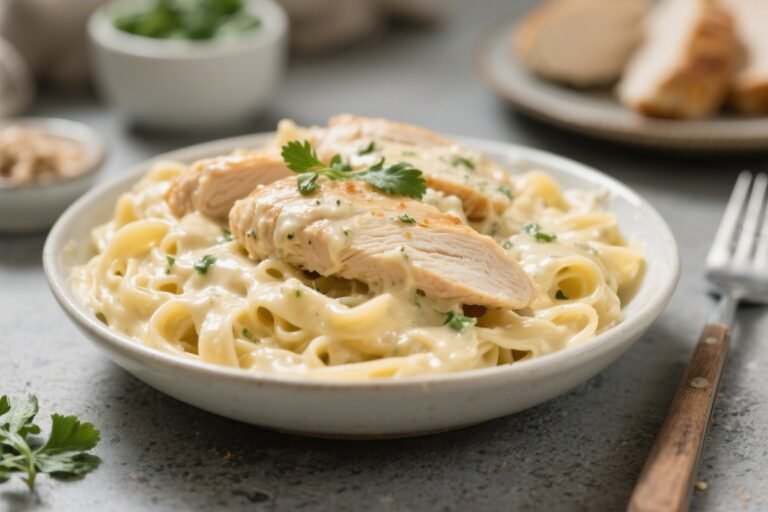
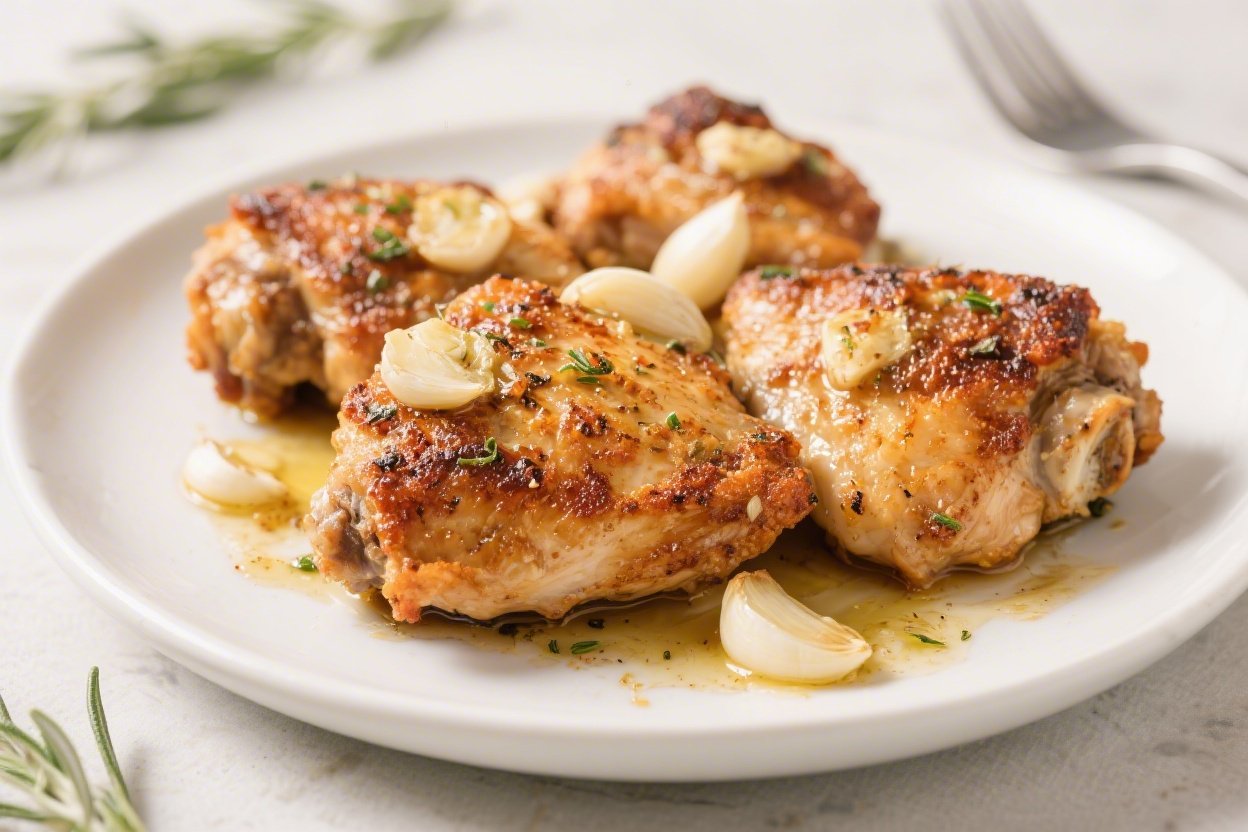
Crispy Garlic Butter Keto Chicken Thighs – Simple, Savory, and Satisfying
If you love juicy chicken with a golden, crackly skin and bold flavor, this recipe is for you. These crispy garlic butter keto chicken thighs hit all the right notes: quick prep, easy ingredients, and big payoff. You’ll get restaurant-worthy results with minimal effort and zero fuss.
It’s the kind of weeknight dinner that feels special without stealing your whole evening.
Ingredients
Method
- Preheat and prep: Heat your oven to 425°F (220°C). Pat the chicken thighs very dry with paper towels. Dry skin is key to crispy results.
- Season generously: In a small bowl, mix salt, pepper, paprika, garlic powder, and onion powder. Rub the seasoning all over the thighs, lifting the skin to season underneath if possible.
- Heat the pan: Place a large oven-safe skillet (cast iron is ideal) over medium-high heat. Add the oil and let it get hot until it shimmers.
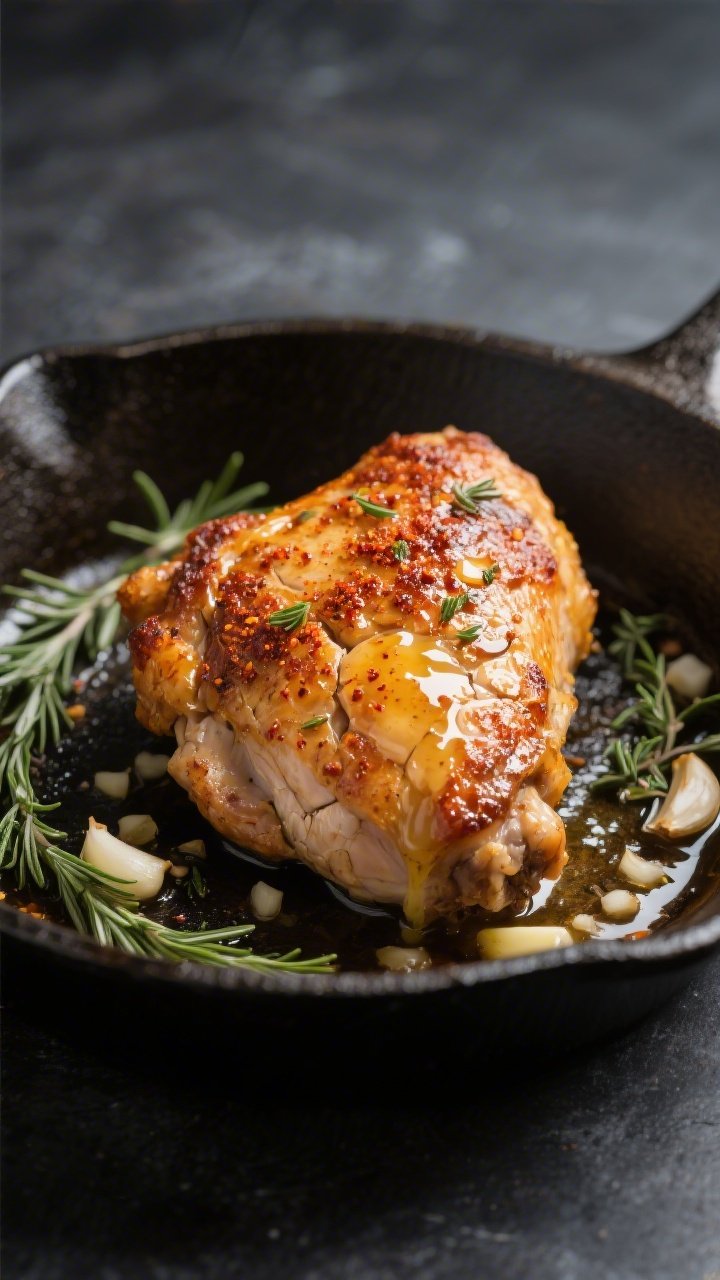
- Sear skin-side down: Lay the thighs skin-side down and don’t move them for 6–8 minutes. You’re aiming for deep golden, crisp skin. Work in batches if needed to avoid crowding.
- Flip and finish sear: Flip the thighs and cook the flesh side for 2 minutes. This step starts the cooking process before the oven finish.
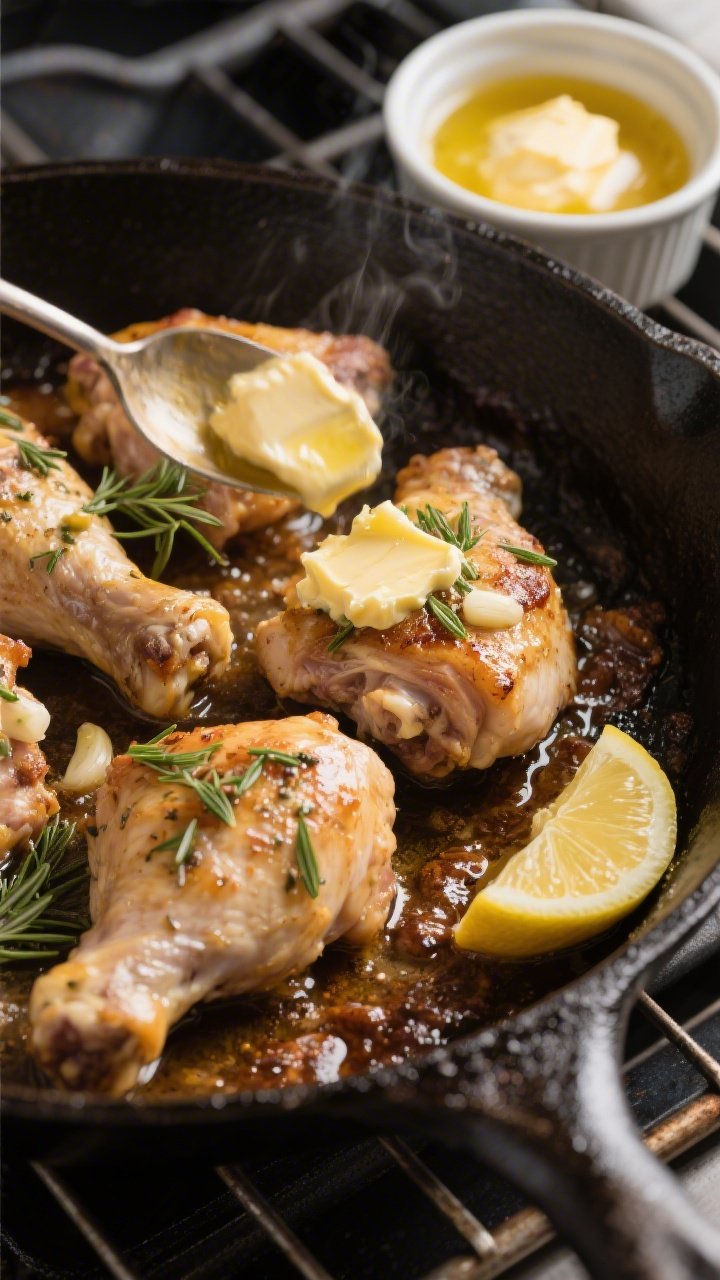
- Make the garlic butter: In a small saucepan or the microwave, melt the butter with minced garlic, thyme, and rosemary. Heat just until fragrant, 30–60 seconds. Stir in the lemon juice.
- Baste and bake: Spoon half the garlic butter over the chicken. Transfer the skillet to the oven and bake 15–20 minutes, until the thickest part reaches 165°F (74°C).
- Baste again and rest: Remove from the oven and brush with the remaining garlic butter. Let the chicken rest 5 minutes so the juices settle.
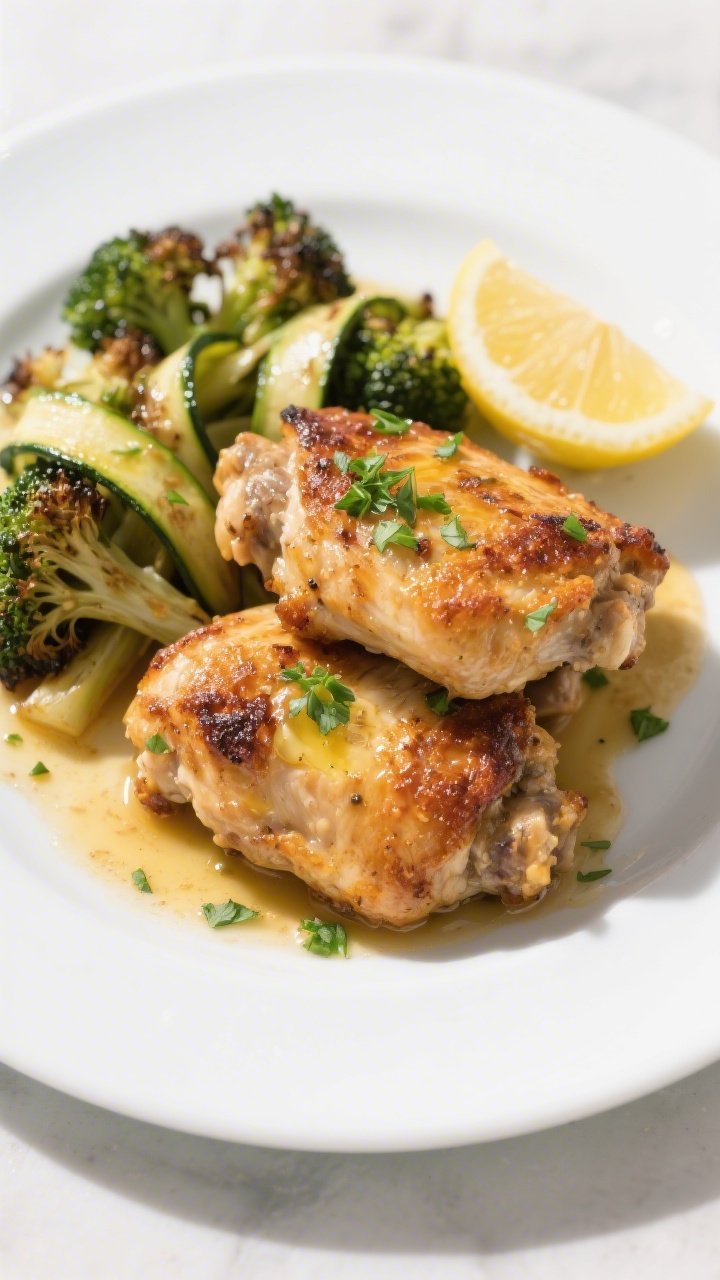
- Garnish and serve: Sprinkle with fresh parsley. Serve with lemon wedges and your favorite low-carb sides like roasted broccoli, sautéed zucchini, or a crisp salad.
What Makes This Special
This recipe pairs the richness of chicken thighs with a fragrant garlic butter baste for maximum flavor and crunch. Skin-on, bone-in thighs crisp beautifully in a hot pan, then finish in the oven for even cooking. It’s naturally low-carb, so it fits a keto lifestyle without any swaps.
Best of all, the pan drippings transform into a buttery, herby sauce you’ll want to spoon over everything.
- Big flavor, minimal effort: Simple spices and garlic butter do the heavy lifting.
- Keto-friendly: Very low in carbs and high in satisfying fats.
- Foolproof technique: Pan-sear for crisp skin, bake to finish perfectly.
- Flexible: Works with your favorite herbs and pantry spices.
Shopping List
- 6 bone-in, skin-on chicken thighs (about 2 to 2.5 pounds total)
- 1.5 teaspoons kosher salt (adjust to taste)
- 1 teaspoon black pepper
- 1 teaspoon smoked paprika (or sweet paprika)
- 1 teaspoon garlic powder
- 1/2 teaspoon onion powder (optional)
- 2 tablespoons avocado oil or olive oil (for searing)
- 4 tablespoons unsalted butter
- 4 garlic cloves, minced
- 1 teaspoon fresh thyme leaves (or 1/2 teaspoon dried)
- 1 teaspoon fresh rosemary, finely chopped (or 1/2 teaspoon dried)
- 1 tablespoon lemon juice
- Fresh parsley, chopped (for garnish)
- Lemon wedges (optional, for serving)
Step-by-Step Instructions
Loved This Recipe?
If you're looking for more simple, healthy keto dinners, grab my FREE 7-Day Easy Keto Dinner Reset. You'll get 7 easy keto dinner recipes, simple grocery lists, and a done-for-you plan that takes the stress out of mealtime.
- Preheat and prep: Heat your oven to 425°F (220°C). Pat the chicken thighs very dry with paper towels. Dry skin is key to crispy results.
- Season generously: In a small bowl, mix salt, pepper, paprika, garlic powder, and onion powder.
Rub the seasoning all over the thighs, lifting the skin to season underneath if possible.
- Heat the pan: Place a large oven-safe skillet (cast iron is ideal) over medium-high heat. Add the oil and let it get hot until it shimmers.
- Sear skin-side down: Lay the thighs skin-side down and don’t move them for 6–8 minutes. You’re aiming for deep golden, crisp skin.
Work in batches if needed to avoid crowding.
- Flip and finish sear: Flip the thighs and cook the flesh side for 2 minutes. This step starts the cooking process before the oven finish.
- Make the garlic butter: In a small saucepan or the microwave, melt the butter with minced garlic, thyme, and rosemary. Heat just until fragrant, 30–60 seconds.
Stir in the lemon juice.
- Baste and bake: Spoon half the garlic butter over the chicken. Transfer the skillet to the oven and bake 15–20 minutes, until the thickest part reaches 165°F (74°C).
- Baste again and rest: Remove from the oven and brush with the remaining garlic butter. Let the chicken rest 5 minutes so the juices settle.
- Garnish and serve: Sprinkle with fresh parsley.
Serve with lemon wedges and your favorite low-carb sides like roasted broccoli, sautéed zucchini, or a crisp salad.
Storage Instructions
- Refrigerator: Store cooled chicken in an airtight container for up to 4 days.
- Freezer: Wrap tightly and freeze for up to 2 months. Thaw in the fridge overnight before reheating.
- Reheat: For best texture, reheat in a 375°F (190°C) oven or air fryer for 8–10 minutes to re-crisp the skin. Avoid microwaving if you want to keep the skin crunchy.
Health Benefits
- Keto-friendly macros: Chicken thighs offer high-quality protein and fat with minimal carbs, supporting satiety and stable energy on a keto plan.
- Skin-on for satisfaction: The natural fats help you feel full and make the dish more flavorful, which can reduce the urge to snack later.
- Garlic goodness: Garlic provides antioxidants and a boost of flavor without adding carbs.
- Herbs over sugar: Fresh herbs and lemon brighten the dish naturally, so you don’t rely on sweet sauces or hidden carbs.
Pitfalls to Watch Out For
- Wet skin equals soggy skin: If you skip patting the thighs dry, you’ll steam instead of sear.
Always dry well before seasoning.
- Overcrowding the pan: Too many thighs at once cool the pan and cause sticking. Sear in batches for best browning.
- Burning the garlic: Don’t add raw garlic to a screaming-hot pan. Melt it gently in butter so it stays sweet and aromatic.
- Undercooking or overcooking: Use an instant-read thermometer and pull at 165°F (74°C).
Resting keeps the meat juicy.
- Too much salt: Kosher salt varies by brand. Start with less if your salt is very coarse, then adjust after tasting.
Variations You Can Try
- Spicy kick: Add 1/2 teaspoon crushed red pepper flakes to the garlic butter or a pinch of cayenne to the dry rub.
- Lemon-pepper twist: Swap paprika for 1 teaspoon lemon pepper seasoning and add extra lemon zest to the butter.
- Herb swap: Use oregano and basil for an Italian vibe, or cilantro and a squeeze of lime for a fresh, bright finish.
- Parmesan crust: Sprinkle 2 tablespoons finely grated Parmesan over the skin during the last 5 minutes of baking for extra crunch.
- Air fryer method: Cook seasoned thighs skin-side up at 380°F (193°C) for 20–24 minutes, brushing with garlic butter in the last 5 minutes.
FAQ
Can I use boneless, skinless thighs?
Yes, but you’ll miss the crispy skin. Reduce the oven time to about 10–12 minutes after a quick sear, and watch the internal temp closely.
The garlic butter will still add great flavor.
What if I don’t have an oven-safe skillet?
Sear the chicken in a regular pan, then transfer the thighs to a preheated sheet pan lined with parchment. Pour the garlic butter over and finish baking as directed.
Is this recipe dairy-free?
Not as written. To make it dairy-free, replace the butter with ghee (if tolerated) or a high-quality dairy-free butter.
The flavor will shift slightly but still be delicious.
How can I keep the skin crispy for leftovers?
Store the chicken uncovered for the first 30 minutes in the fridge to let steam escape, then cover. Reheat in an oven or air fryer to restore crispness. Avoid microwave reheating if possible.
Can I use chicken breasts instead?
You can, but adjust cooking time to prevent drying out.
Sear quickly, then bake 8–12 minutes depending on thickness. Baste with extra garlic butter to keep them moist.
What sides work well on keto?
Try roasted Brussels sprouts, cauliflower mash, garlicky green beans, or a mixed greens salad with olive oil and lemon. Zucchini noodles tossed in the pan drippings are also great.
Do I need to marinate the chicken?
No.
The dry rub and basting add plenty of flavor. If you want extra depth, you can season the thighs and refrigerate uncovered for 1–2 hours to dry-brine and boost crispness.
Wrapping Up
These crispy garlic butter keto chicken thighs deliver everything you want in a weeknight dinner: fast prep, big flavor, and a beautiful golden crust. With a few simple techniques, you’ll get juicy meat, crackly skin, and a buttery pan sauce that tastes like you fussed.
Keep this one in your rotation and mix up the herbs and spices to match your mood. Simple, satisfying, and reliably crave-worthy.
Printable Recipe Card
Want just the essential recipe details without scrolling through the article? Get our printable recipe card with just the ingredients and instructions.