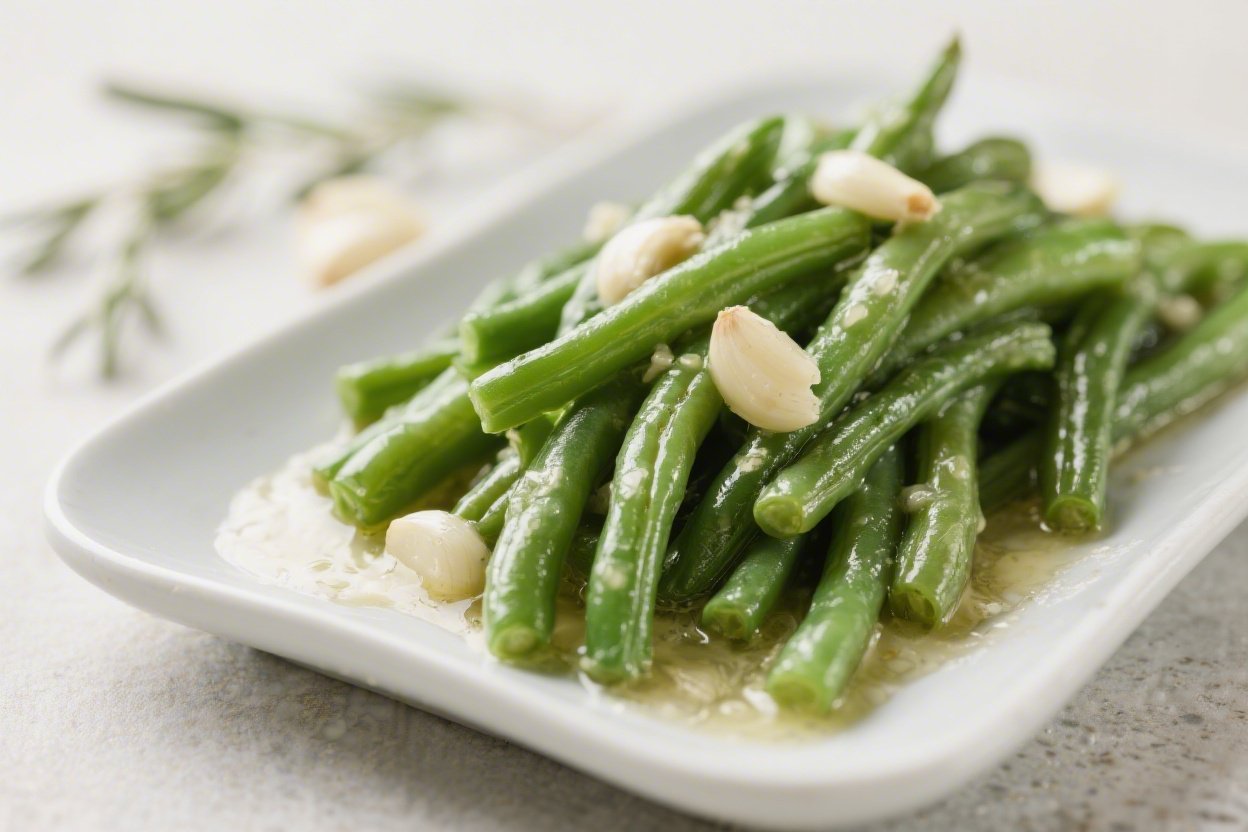
Garlic Butter Green Beans – Simple, Fresh, and Full of Flavor
Green beans don’t need much to taste amazing. With a little butter, a good hit of garlic, and the right technique, they turn into a side dish that steals the show. This recipe is straightforward, fast, and perfect for busy weeknights or holiday dinners.
The beans stay crisp-tender, the garlic is fragrant (not bitter), and the butter ties everything together. It’s the kind of dish you’ll make once and keep coming back to.
Ingredients
Method
- Prep the beans: Rinse, dry, and trim the stem ends. Leave them whole for a nice look, or cut in half if you like bite-size pieces.
- Choose your method: For the most consistent texture, blanch the beans in salted boiling water for 2–3 minutes until bright green, then drain and shock in ice water. If you prefer one-pan cooking, skip blanching and proceed to the sauté with a splash of water.
- Heat the pan: Set a large skillet over medium heat. Add the olive oil and half the butter. Let it melt and foam slightly.
- Add the beans: If blanched, pat them very dry before adding to the pan. If not blanched, add 2–3 tablespoons of water with the beans to help them steam. Toss to coat.
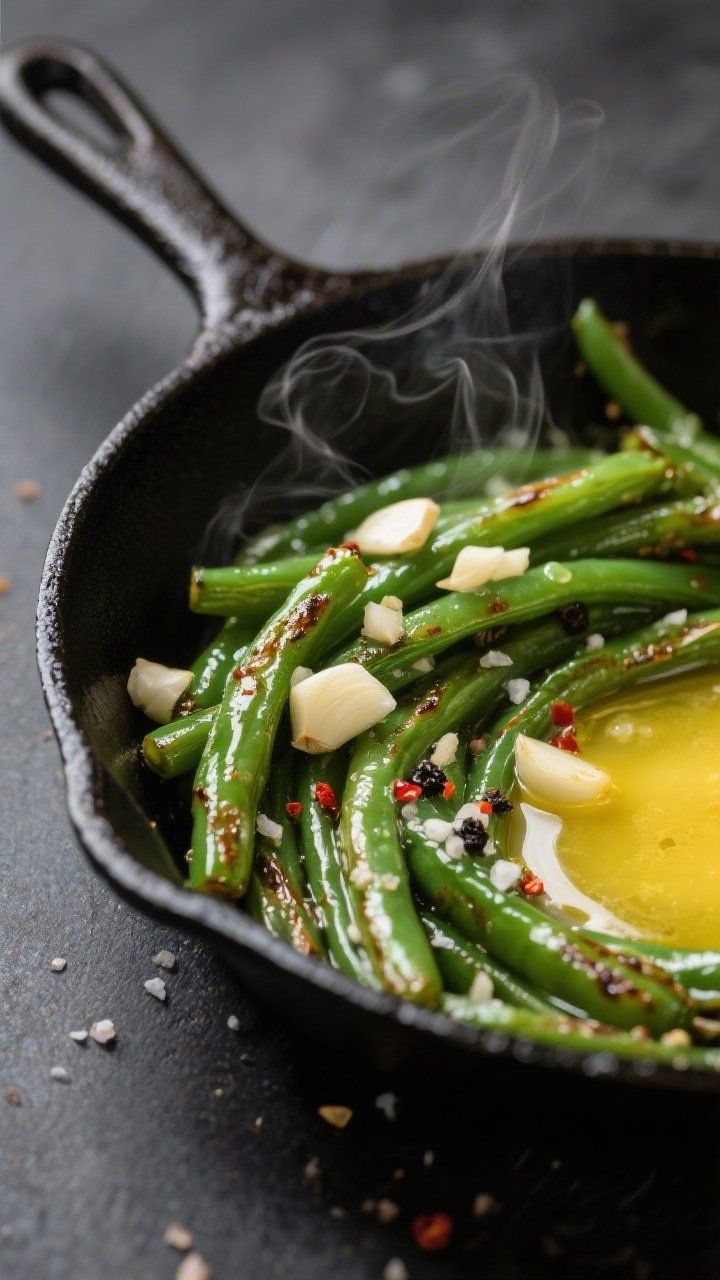
- Season early: Sprinkle with salt and pepper. Cook, tossing occasionally, until the beans are crisp-tender and lightly blistered in spots, about 3–5 minutes if blanched, 6–8 minutes if raw (add another splash of water if the pan gets dry).
- Add the garlic: Push the beans to one side. Add the remaining butter to the open space, then the minced garlic. Let it sizzle gently for 20–30 seconds until fragrant, not brown.
- Combine and finish: Toss the beans with the garlicky butter. Add lemon zest, a squeeze of lemon juice, and red pepper flakes if using. Taste and adjust salt and pepper.
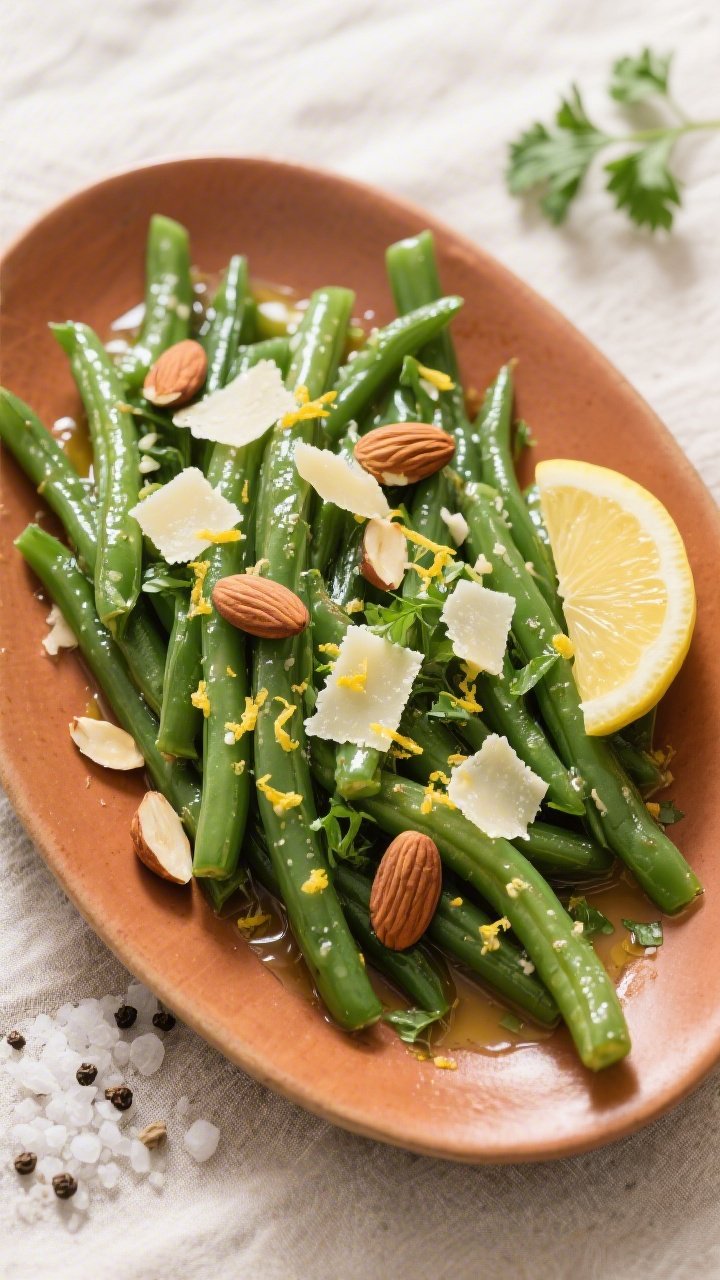
- Serve hot: Transfer to a warm platter. Top with toasted almonds, Parmesan, or parsley if you want an extra flourish.
What Makes This Recipe So Good
- Fast and foolproof: From start to finish, this takes about 15 minutes. No fancy steps, just a smart sauté and quick finish.
- Balanced flavor: Buttery richness, bright lemon, and a touch of salt make the beans pop without overpowering them.
- Perfect texture: Blanching or a splash of water while sautéing keeps them crisp-tender, not squeaky or limp.
- Flexible and dinner-friendly: Works with roasted chicken, steak, fish, or a veggie grain bowl.
Easy to scale up for guests.
- Make-ahead friendly: Par-cook the beans in advance and finish with garlic butter right before serving.
What You’ll Need
- Green beans: 1 pound, trimmed. Haricots verts also work; just reduce cook time slightly.
- Butter: 2–3 tablespoons, unsalted preferred so you control the seasoning.
- Olive oil: 1 tablespoon to prevent the butter from burning.
- Garlic: 3–4 cloves, finely minced or grated.
- Lemon: Zest of half a lemon and 1–2 teaspoons lemon juice, to brighten.
- Salt: Kosher or sea salt, to taste.
- Black pepper: Freshly ground, to taste.
- Red pepper flakes (optional): A pinch for gentle heat.
- Water or broth: 2–3 tablespoons, only if needed to help them steam through.
- Finishing touches (optional): Toasted almonds, grated Parmesan, or chopped parsley.
Step-by-Step Instructions
- Prep the beans: Rinse, dry, and trim the stem ends. Leave them whole for a nice look, or cut in half if you like bite-size pieces.
- Choose your method: For the most consistent texture, blanch the beans in salted boiling water for 2–3 minutes until bright green, then drain and shock in ice water.
If you prefer one-pan cooking, skip blanching and proceed to the sauté with a splash of water.
- Heat the pan: Set a large skillet over medium heat. Add the olive oil and half the butter. Let it melt and foam slightly.
- Add the beans: If blanched, pat them very dry before adding to the pan.
If not blanched, add 2–3 tablespoons of water with the beans to help them steam. Toss to coat.
- Season early: Sprinkle with salt and pepper. Cook, tossing occasionally, until the beans are crisp-tender and lightly blistered in spots, about 3–5 minutes if blanched, 6–8 minutes if raw (add another splash of water if the pan gets dry).
- Add the garlic: Push the beans to one side.
Add the remaining butter to the open space, then the minced garlic. Let it sizzle gently for 20–30 seconds until fragrant, not brown.
- Combine and finish: Toss the beans with the garlicky butter. Add lemon zest, a squeeze of lemon juice, and red pepper flakes if using.
Taste and adjust salt and pepper.
- Serve hot: Transfer to a warm platter. Top with toasted almonds, Parmesan, or parsley if you want an extra flourish.
Loved This Recipe?
If you're looking for more simple, healthy keto dinners, grab my FREE 7-Day Easy Keto Dinner Reset. You'll get 7 easy keto dinner recipes, simple grocery lists, and a done-for-you plan that takes the stress out of mealtime.
Keeping It Fresh
- Storage: Cool completely, then store in an airtight container for up to 3–4 days in the fridge.
- Reheat gently: Warm in a skillet over medium heat with a small knob of butter or a splash of water. Avoid the microwave if possible to keep the texture crisp.
- Make-ahead tip: Blanch the beans earlier in the day and keep them chilled.
Right before serving, sauté with butter and garlic for 2–3 minutes. They’ll taste freshly made.
- Freezing: Not recommended after adding butter and garlic. If you must freeze, blanch and freeze the plain beans, then finish with garlic butter after thawing.
Health Benefits
- Fiber-rich: Green beans provide dietary fiber that supports digestion and steady energy.
- Vitamins and minerals: They’re a good source of vitamins A, C, and K, plus folate and manganese.
- Antioxidants: Naturally contain carotenoids and flavonoids that help fight oxidative stress.
- Balanced fats: Using a mix of butter and olive oil offers flavor with a better fat profile than butter alone.
- Low-calorie side: Satisfying without being heavy, especially if you keep add-ins like cheese or nuts moderate.
Pitfalls to Watch Out For
- Overcooking: Limp, olive-drab beans lose flavor and nutrients.
Pull them when they’re bright green and tender with a bit of snap.
- Burning the garlic: Bitter garlic can ruin the dish. Add it near the end and keep the heat moderate.
- Skipping the dry-off: If you blanch, dry the beans well. Excess water can make the butter sauce thin and splattery.
- Under-seasoning: Beans need salt.
Taste and adjust at the end; a pinch can make a big difference.
- Using only butter over high heat: Butter alone can scorch. The olive oil helps stabilize it.
Variations You Can Try
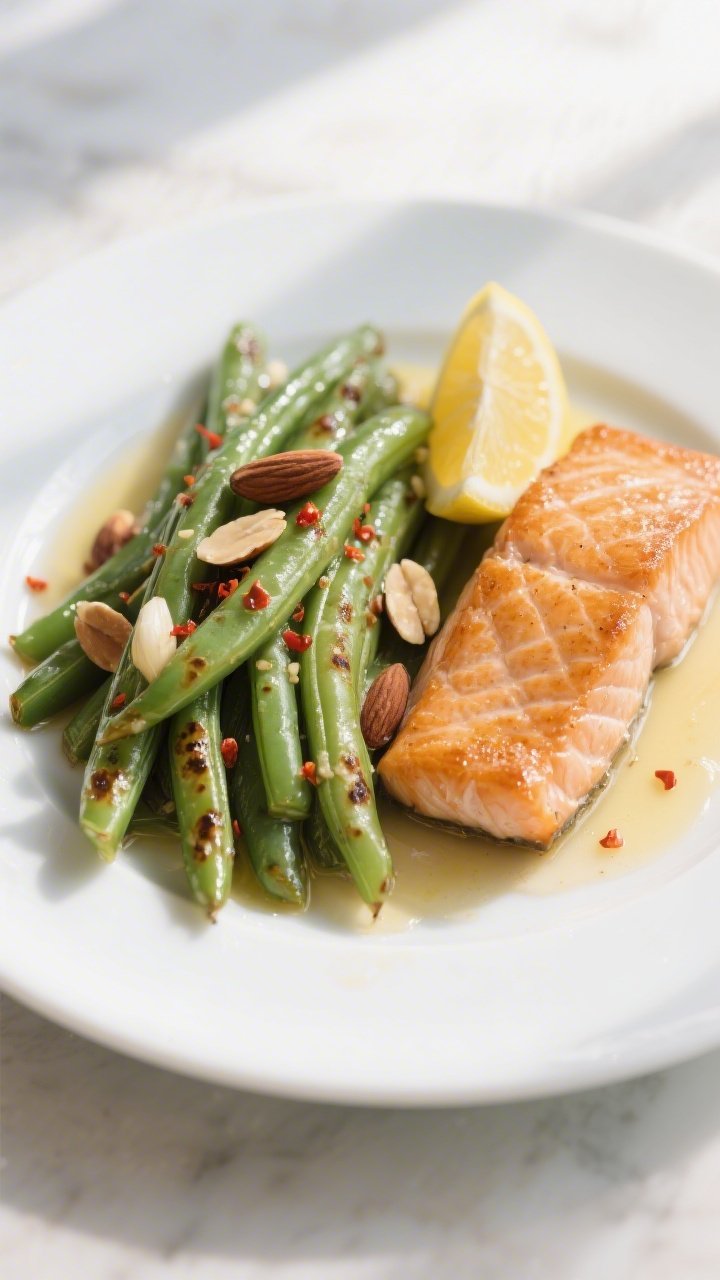
- Almondine style: Add toasted sliced almonds and a little extra lemon. Classic and elegant.
- Parmesan and herb: Toss with grated Parmesan and chopped parsley or chives right before serving.
- Garlic-chili crunch: Stir in a spoonful of chili crisp or a pinch of Aleppo pepper for gentle heat and texture.
- Lemon-caper: Add a tablespoon of chopped capers and extra lemon zest for a briny, bright twist.
- Bacon or pancetta: Render chopped bacon or pancetta first, then cook the beans in the drippings with a bit of butter.
Salty, smoky, and irresistible.
- Sesame-garlic: Swap part of the butter for toasted sesame oil, and finish with sesame seeds and a splash of soy.
- Brown butter upgrade: Brown the butter until nutty before adding the garlic. Keep the heat low for the garlic step.
FAQ
Do I have to blanch the green beans first?
Blanching gives you more control and a consistent crisp-tender bite, especially for thicker beans. That said, you can skip it and sauté from raw—just add a splash of water and cook a little longer.
Can I use frozen green beans?
Yes, but choose whole frozen beans, not cut.
Thaw and pat dry first, then cook as directed. They won’t be quite as crisp as fresh, but they’ll still taste great.
How do I keep the garlic from burning?
Add it after the beans are mostly cooked, and let it sizzle gently in melted butter for 20–30 seconds. Keep the heat at medium and stir frequently.
What protein pairs well with garlic butter green beans?
Roast chicken, seared salmon, grilled steak, pork chops, or tofu cutlets all work well.
The clean, buttery-garlic flavor is super versatile.
Can I make this dairy-free?
Use all olive oil or a good dairy-free butter. Add a small splash of vegetable broth for body and finish with lemon zest to keep it lively.
How much salt should I use?
Start with about 1/2 teaspoon kosher salt for a pound of beans, then taste and adjust. The right amount of salt should make the lemon and garlic shine.
Is lemon necessary?
It’s not required, but a little acidity wakes up the flavors and keeps the butter from feeling heavy.
If you don’t have lemon, try a dash of white wine vinegar.
In Conclusion
Garlic Butter Green Beans are simple, quick, and reliably delicious. With a few pantry staples and a smart cooking method, you get bright color, great texture, and big flavor. Keep it classic with just garlic and butter, or dress it up with nuts, herbs, or cheese.
Either way, this is a go-to side you’ll use year-round—and it never goes out of style.
Printable Recipe Card
Want just the essential recipe details without scrolling through the article? Get our printable recipe card with just the ingredients and instructions.